1) Have an idea for a podcast. If you don't have one, then start by reading, listening and talking to people. Get curious about something and start brainstorming questions you're wondering about. One basic mode of storytelling that I find pleasurable is following a narrator from the state of "not knowing" to the state of "knowing." Your outline is as simple as asking a question, searching for answers and coming to a resolution about how the answers (or lack of answers) are meaningful for you and your listener.
Whitney Pastorek, writing for Transom.org, has this to say about how to come up with a story idea:
2) Write a script. Or at least an outline. This is the most important step. Even if you will have some spontaneous parts of your podcast, such as an interview, you'll want to plan an introduction, a middle and a conclusion around those pieces. Indicate when you want to add music and what kind of music you want to hear. Aim for a five-minute podcast. Keeping listeners engaged for a full five minutes is harder than it seems. If you're wondering what a podcast script might look like, check these out.Oh good lord. I have no idea. And in fact, when I wander over to the Tools Talk Beginner board, I find more often than not that the "How do you get your ideas?" question is greeted with a lot of, "Well, you just have to figure that out for yourself" which is totally unhelpful but tragically true.
The way I see it, there are several different kinds of radio pieces one could put together.
straight interview, one on one journalistic piece, made up of interviews, sound clips, some unbiased reporter-ish narration narrative piece, made up of interviews, sound clips, and your own feelings storytelling, personal accounts, readings
3) Do any recording in the field that you think you will need. This is where to do your interview with someone at their office or record the sound of ordering a latte at Starbucks or narrate your walk through the park one morning.
4) Listen to your field recording and create an audio log by noting the parts that you think you will use in your podcast and where they are in the recording.
5) Revise your script to shape it around your field recordings.
6) Do any necessary sound booth recording. This will likely be your narration, your intros, your transitions, your conclusion. Here at Temple, we use sound booths called The Whisper Rooms.
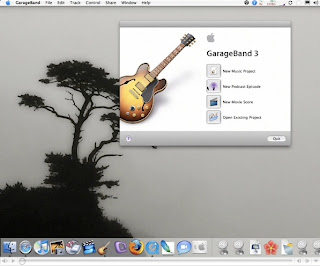
7) Following your script, edit together your field and studio recordings and add music as planned. This video, created by John G. Hendron, will take you through creating and editing a podcast in Garage Band. If you stick with it through the first half, you'll learn the basics. If you're into keyboard shortcuts, check these out.
8) Have someone listen to your audio story and give feedback. Edit again.
9) Upload your podcast to the Internet using a free host, such as Talkshoe.com. This will create a URL for your podcast.
10) Post your podcast to blogger. To embed the URL you created with an audio player, check out the handy code provided by Cogs for Blogs.
Other resources:
Kathy E. Gill, from the Department of Communication at the University of Washington, Seattle has put together a wealth of resources on creating a podcast for her course in New Media.
